24 Halloween Wall Decor Ideas for a Dramatic 2026
Introduction
Blank walls can make Halloween decor feel unfinished, even when your room already has pumpkins, candles, and seasonal accents. Halloween Wall Decor Ideas can turn those overlooked spaces into dramatic focal points that feel intentional and inviting.
This collection brings together creative setups for living rooms, hallways, bedrooms, entryways, and other areas that need a seasonal touch. You’ll find everything from vintage portraits and raven silhouettes to witch hats, gothic frames, candle sconces, and shadowy tree designs. Many ideas can be adapted with affordable materials, thrifted finds, or removable decorations, making them practical for renters and homeowners alike.
In my experience, the strongest Halloween walls usually do not require the most decorations. A few well-placed pieces, the right lighting, and a balanced color palette can completely change the mood of a room. Use these ideas as inspiration, then adjust the colors, scale, and materials to suit your own space.
Vintage Portrait Gallery
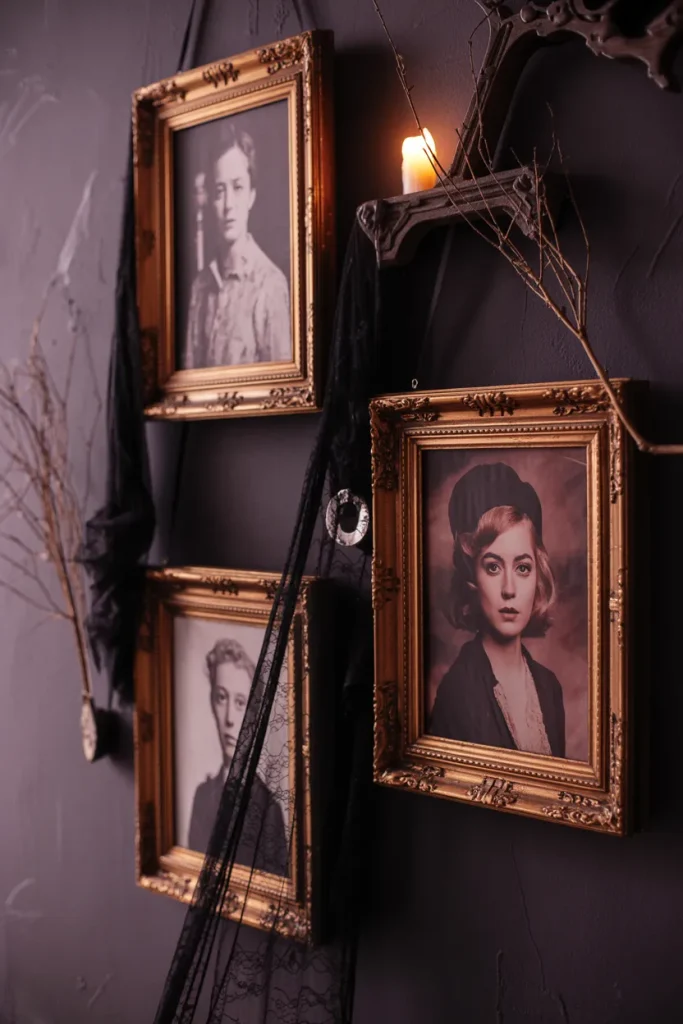
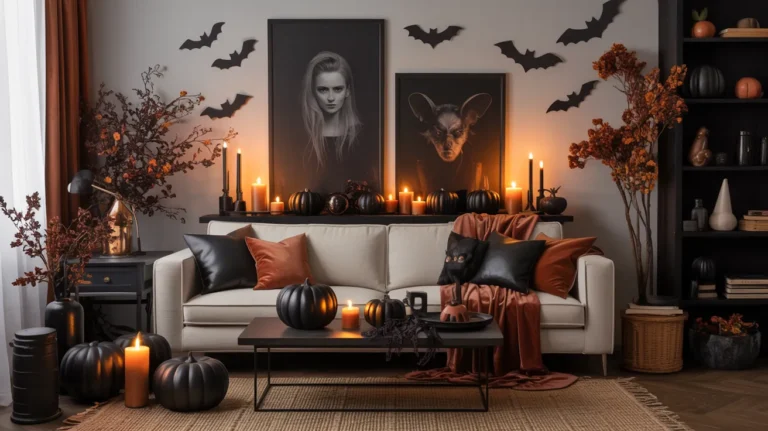
A gallery of vintage portraits gives a Halloween wall an instant old-house character without covering every inch of the room. Choose mismatched gold, black, or weathered wood frames, then fill them with sepia portraits or printable haunted figures. Keep the artwork slightly uneven for a collected look.
I’ve noticed darker artwork works especially well against cream, beige, or muted gray walls because the contrast makes each frame stand out. Add a few wispy cobwebs around the corners rather than covering the entire display. The result feels mysterious and dramatic while still looking intentional and decorative.
ALSO READ : Clever Storage Ideas for Tiny Apartments
Black Bat Swarm
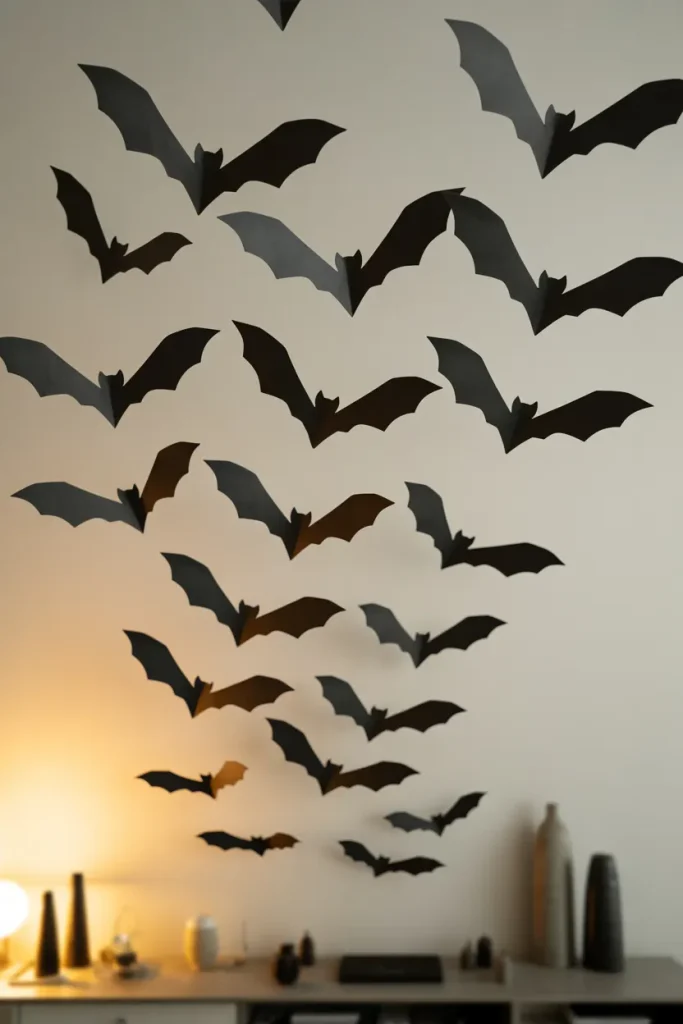
A flock of black bats can turn a plain wall into a dramatic focal point with very little material. Cut bats from sturdy black cardstock in several sizes, then bend their wings slightly before attaching them with removable adhesive. Start with a few near one corner and gradually increase the number toward the center.
- Mix three or four bat sizes for natural movement.
- Angle each bat differently instead of keeping them flat.
- Leave some open wall space around the swarm.
- Use removable adhesive for painted walls.
- Extend the pattern toward a doorway for extra impact.
The strongest arrangements follow a curved flight path rather than a straight line. For a rental, lightweight paper makes this setup especially practical. Pair the swarm with a simple console table, black vase, or amber lamp below, allowing the wall pattern to remain the main attraction.
Pinterest Account : HavenAndHue2
Haunted Mirror Display
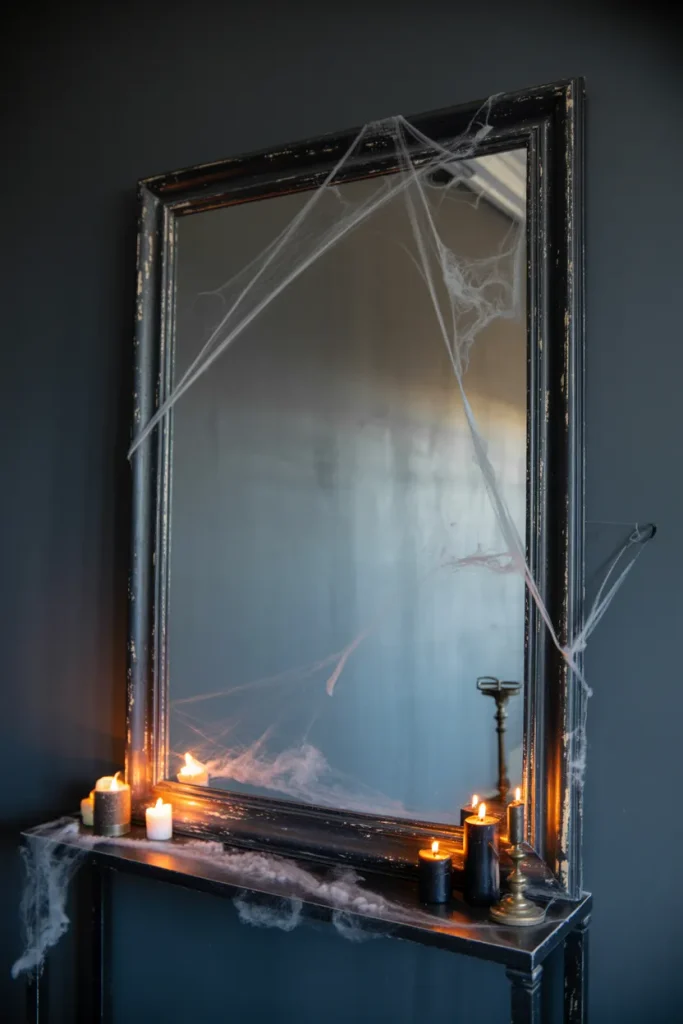
Quick Tip:
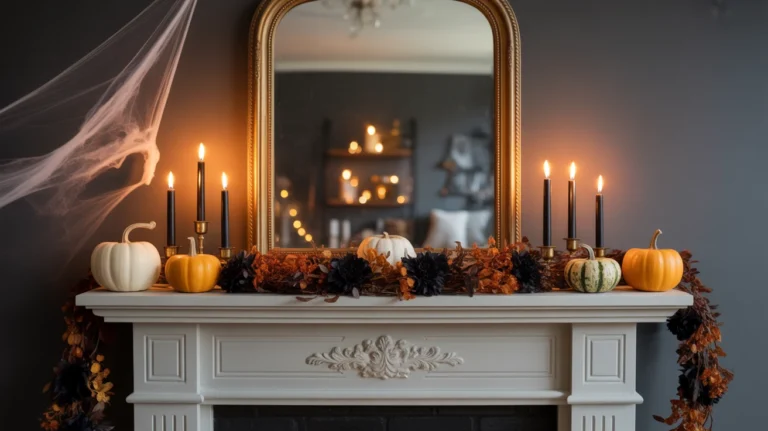
Choose a mirror with a distressed or antique-style frame rather than a sleek modern one. Add removable faux cobwebs around the corners and keep the center glass mostly clear so the reflection remains useful.
A haunted mirror works because it combines everyday function with theatrical Halloween styling. Place it above a console, entry table, or fireplace and surround it with a few restrained accents. In my experience, leaving some reflective surface visible keeps the display from feeling cluttered while still giving the room a spooky focal point.
Macabre Gallery Wall
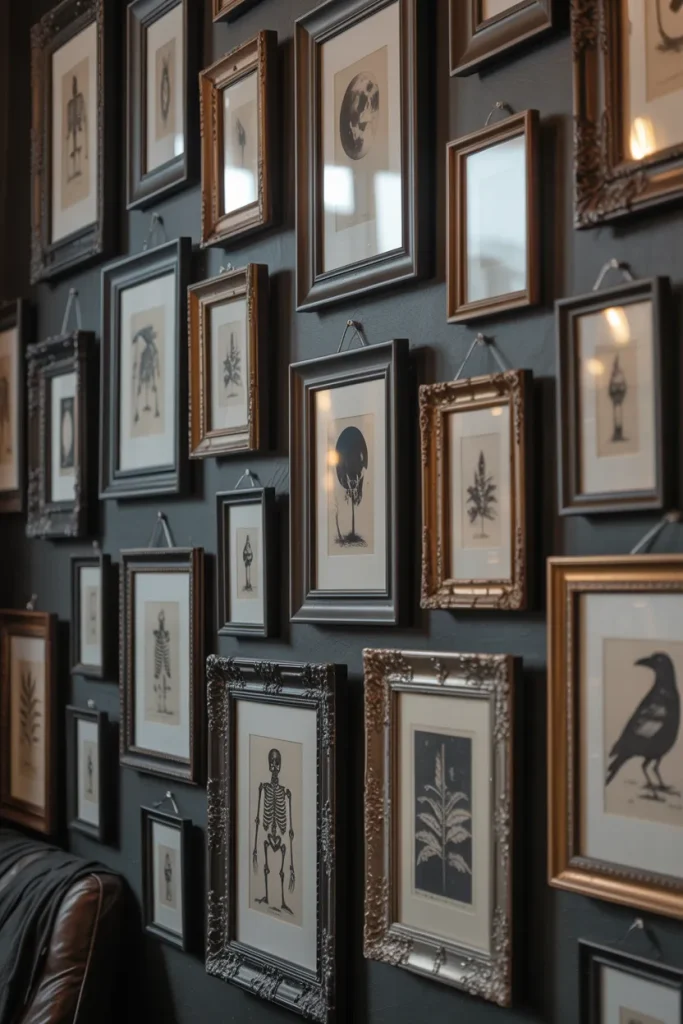
BEFORE: A large blank wall can make the room feel unfinished, especially when nearby Halloween decorations are concentrated on tables and shelves. The empty space has little visual connection to the seasonal theme.
AFTER: A layered gallery fills that gap with framed skeleton art, ravens, old maps, or botanical prints. Mixing frame sizes creates depth without requiring identical pieces. Keep two or three frames slightly tilted for an aged, collected appearance.
A gallery wall works especially well above a console, sofa, or staircase. Start with the largest frame near the center, then build outward with smaller artwork. I’ve seen thrifted frames work beautifully here, especially when their finishes are slightly mismatched. Add one dark mirror to break up the artwork.
Floating Witch Hats
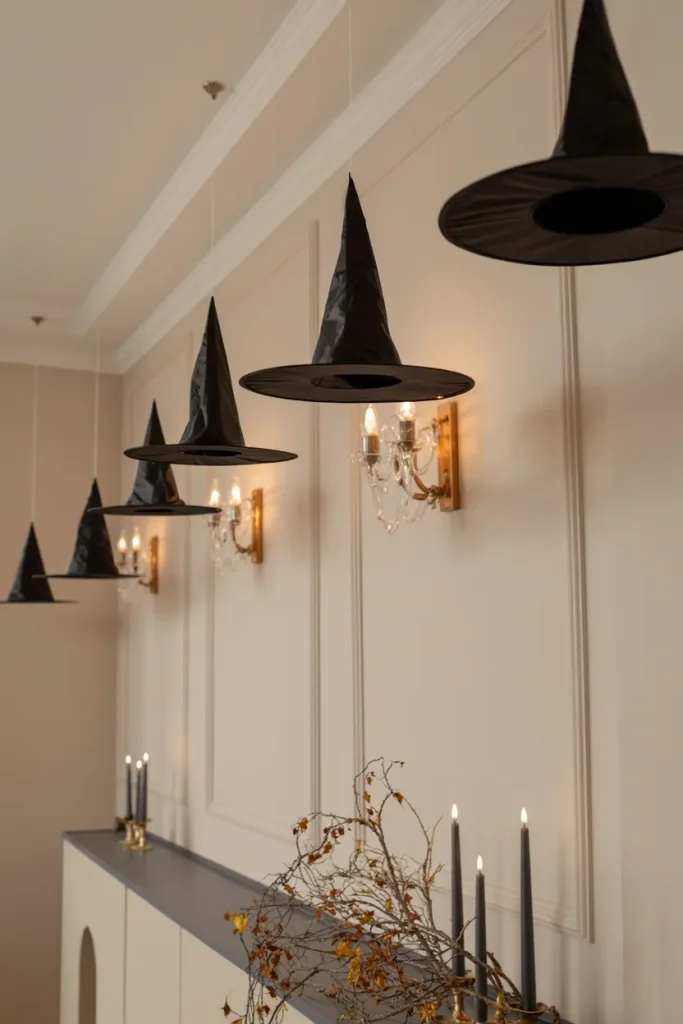
- Map the arrangement: Mark several points across the wall, keeping the hats at different heights rather than forming a straight row.
- Prepare the hangers: Attach short lengths of clear fishing line securely inside each hat so the support stays difficult to notice.
- Create varied heights: Hang larger hats lower and smaller ones higher to create depth and movement.
- Add subtle accents: Place a few dried branches, black candles, or framed prints underneath to connect the floating display with the rest of the room.
Suspended witch hats bring vertical interest to walls that already have furniture underneath. They are particularly useful above entry consoles, dining areas, and narrow hallways where floor space is limited. Keep the spacing irregular, and choose matte black hats for a refined look rather than overly shiny costume materials.
Gothic Lace Panels
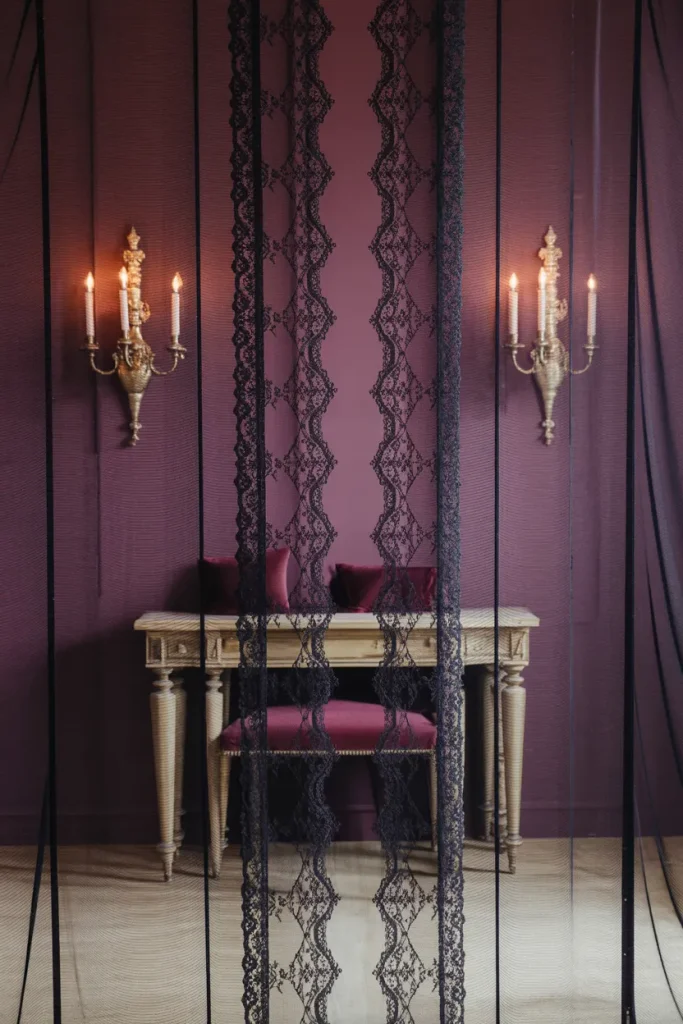
| Option A | Option B |
| Full lace panel | Narrow lace strip |
| Strong dramatic effect | Subtle seasonal touch |
| Best for large walls | Best for small spaces |
| Uses more fabric | Budget-friendly |
| Creates a gothic backdrop | Frames existing artwork |
Black lace changes the wall texture without requiring permanent alterations. For a dramatic room, cover a broad section behind a console or seating area. For smaller rooms, frame a mirror or artwork with narrow lace panels instead. Warm lighting placed nearby will reveal the lace pattern and create layered shadows after dark.
Raven Silhouette Cluster
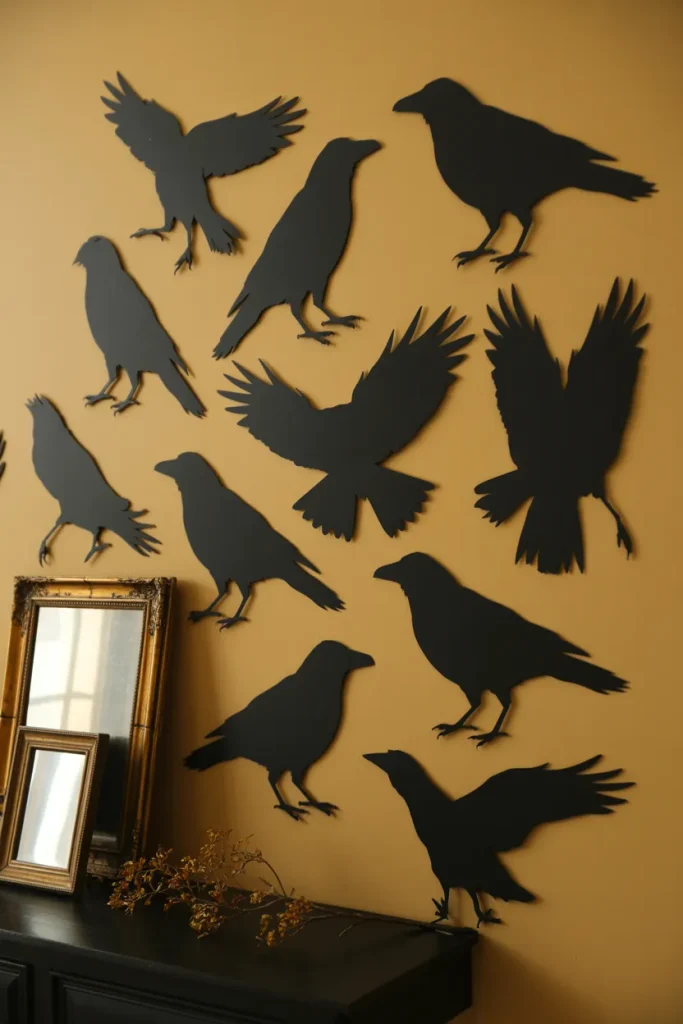
DO:
- Arrange ravens in different sizes and directions.
- Keep the cluster slightly higher on the wall for movement.
- Use removable adhesive on painted surfaces.
- Combine silhouettes with one or two antique frames.
DON’T:
- Space every bird at identical intervals.
- Cover the entire wall with silhouettes.
- Mix too many bright colors into the display.
- Use heavy objects that require unnecessary wall damage.
Raven silhouettes bring a darker Halloween character without making the room feel overcrowded. I’ve noticed odd-numbered groupings often create a more natural visual rhythm. Place the largest birds near the center and smaller ones toward the edges, then add a warm lamp below to create crisp evening shadows.
Candlelit Skull Frames
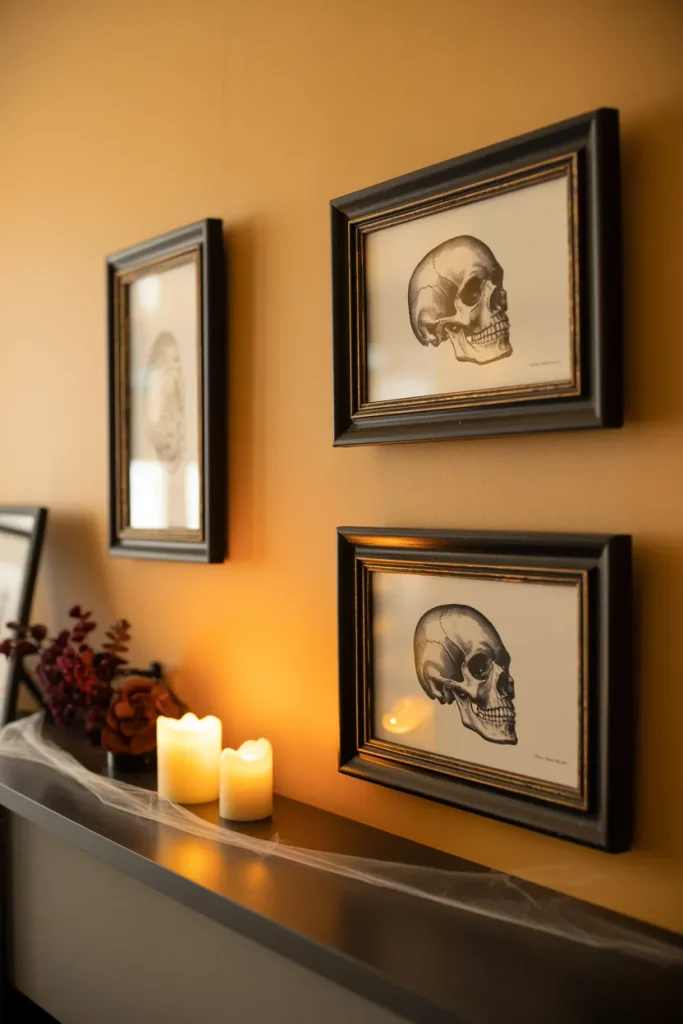
Cost: Low to moderate | Time: 1 to 2 hours | Skill Level: Beginner
Best For: Living rooms, hallways, entryways | Works In: Small or large spaces
Result: Dramatic framed focal point
Skull artwork becomes far more striking when paired with warm candlelight and restrained accessories. Choose botanical skull prints, vintage anatomical illustrations, or simple black-and-white designs rather than overly colorful graphics. I’ve seen this combination work especially well on narrow walls because the frames add height while the candles provide a soft seasonal glow.
Spiderweb Corner Art
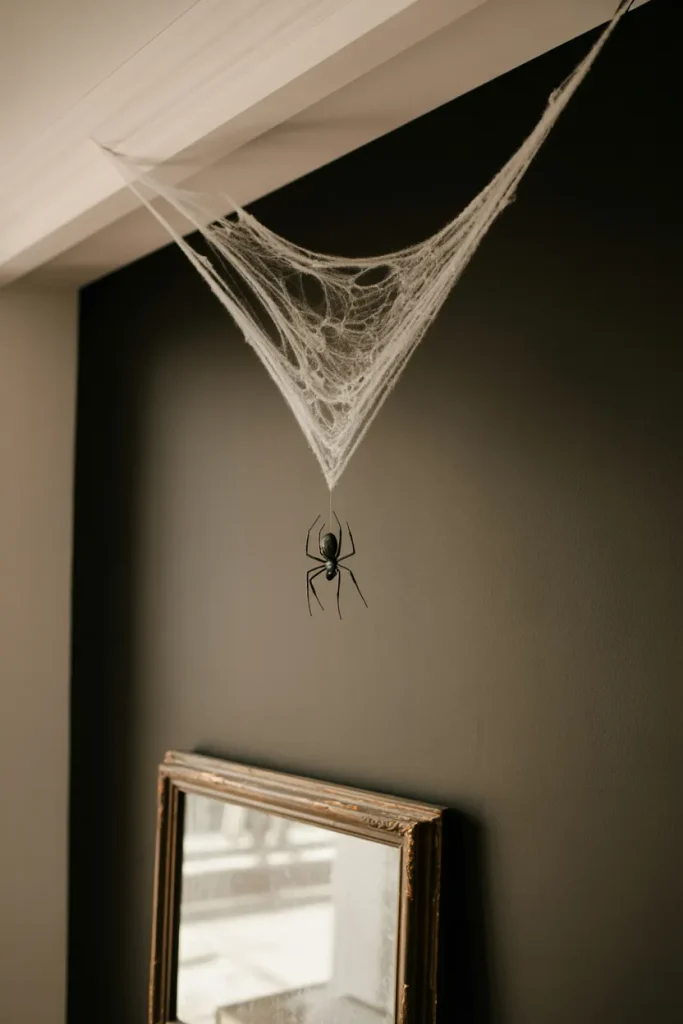
Two wall corners can create enough space for a striking web display without covering an entire room. Use thick white cotton cobweb material for a softer look, or create a geometric web with white yarn for cleaner lines. Anchor the center with one small faux spider and keep surrounding decorations minimal.
The trick is controlled placement. Stretch the web from one corner toward a frame, shelf, or doorway rather than spreading it randomly across the wall. A warm lamp positioned from the side will cast delicate shadows through the strands. This approach keeps the display dramatic while preserving a polished room underneath.
Witch Hat Gallery
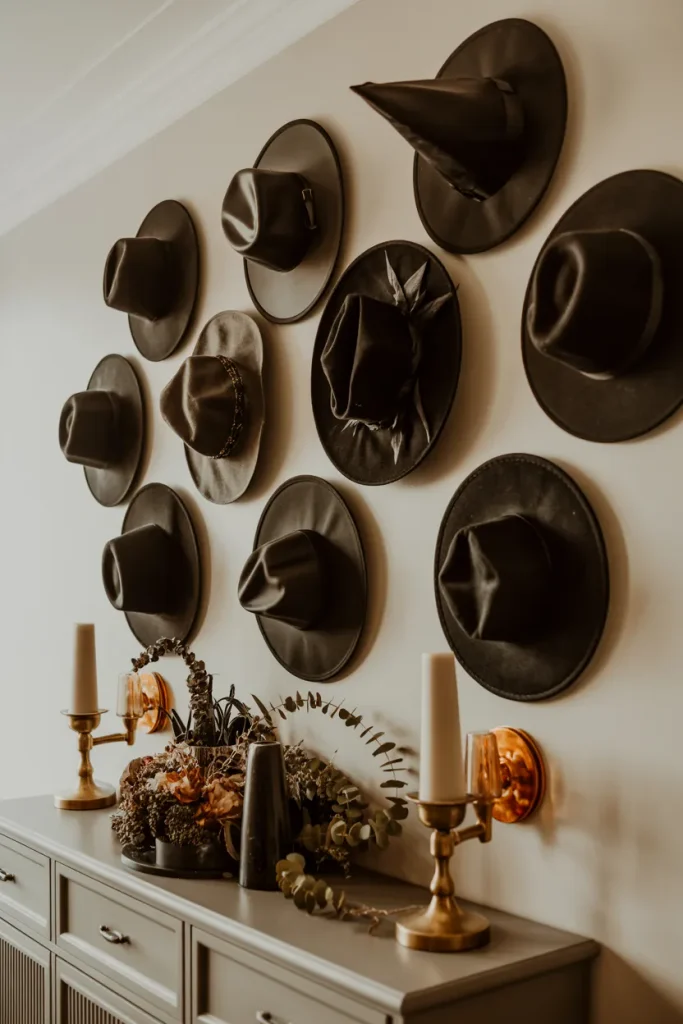
- Choose varied shapes: Mix tall pointed hats with shorter, floppy styles for visual depth.
- Plan the spacing: Arrange the hats in a loose triangular composition rather than a rigid row.
- Secure them lightly: Use removable hooks or adhesive strips suited to the wall surface.
- Add grounding decor: Place a black vase, lantern, or small stack of vintage books beneath the display.
Witch hats work particularly well on broad blank walls because their pointed silhouettes create instant vertical movement. Keep the palette mostly black with touches of brass or burgundy. For a smaller room, three hats are enough to establish the theme without competing with furniture or other seasonal decorations.
Antique Clock Wall
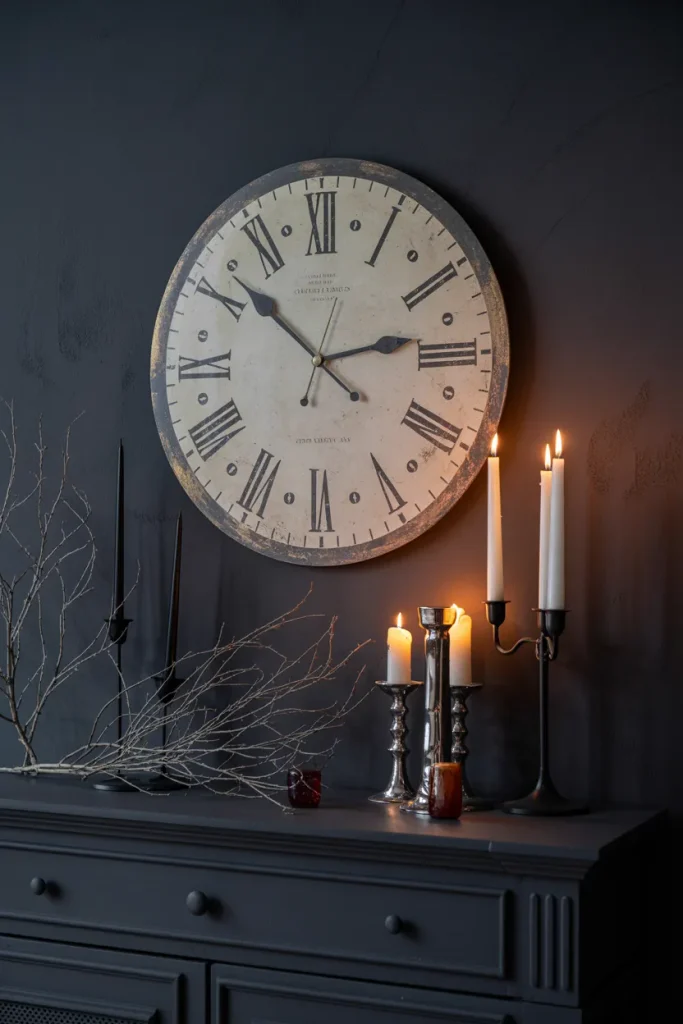
Quick Tip:
Look for a clock with aged brass, distressed wood, or dark metal details. Set it slightly off-center if surrounding artwork is already present, then repeat one material from the clock in nearby frames or accessories.
An oversized antique clock gives Halloween wall styling a mysterious old-world character while remaining useful after the holiday. Pair it with vintage frames, dried branches, or a small raven ornament for added atmosphere. I’ve tried similar arrangements with thrifted clocks, and the worn finishes often provide more character than newer decorative pieces.
Blackboard Spell Wall
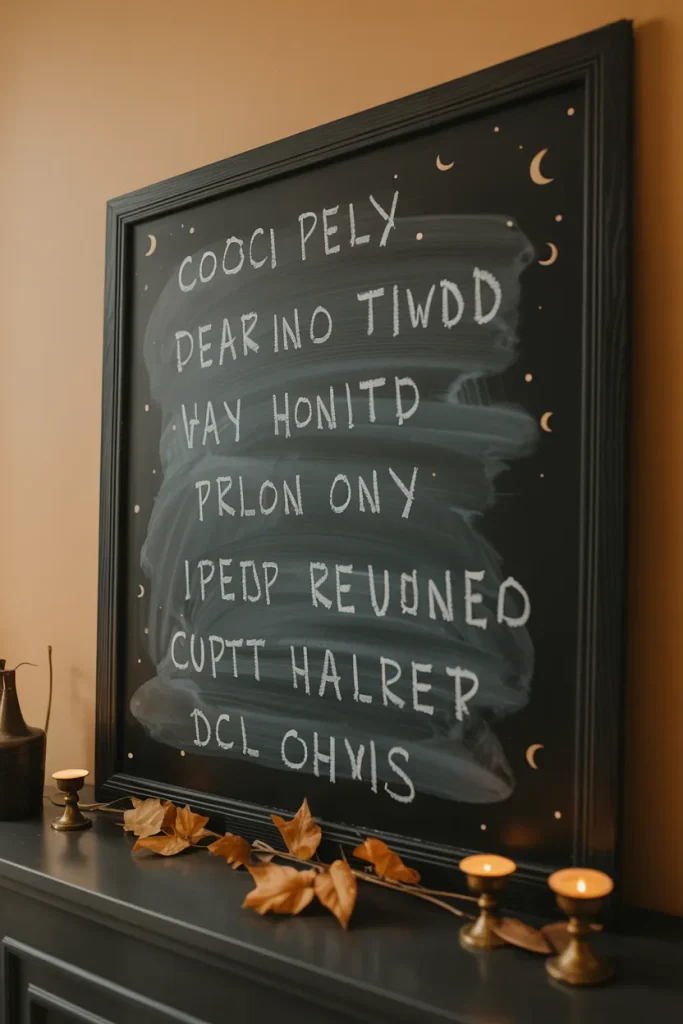
BEFORE: A plain wall may feel disconnected from the rest of a Halloween display, especially when the seasonal decorations are concentrated on shelves or tables.
AFTER: A framed blackboard becomes an interactive focal point filled with handwritten spells, moon phases, potion notes, or playful Halloween phrases. Add a few small drawings around the lettering to make the surface feel naturally collected.
Keep the lettering simple enough to read from across the room. White or warm cream chalk creates strong contrast against black, while a few muted orange details connect the board to autumn decor. This setup is also easy to refresh throughout October, making it useful for changing seasonal displays.
Skeleton Portrait Row
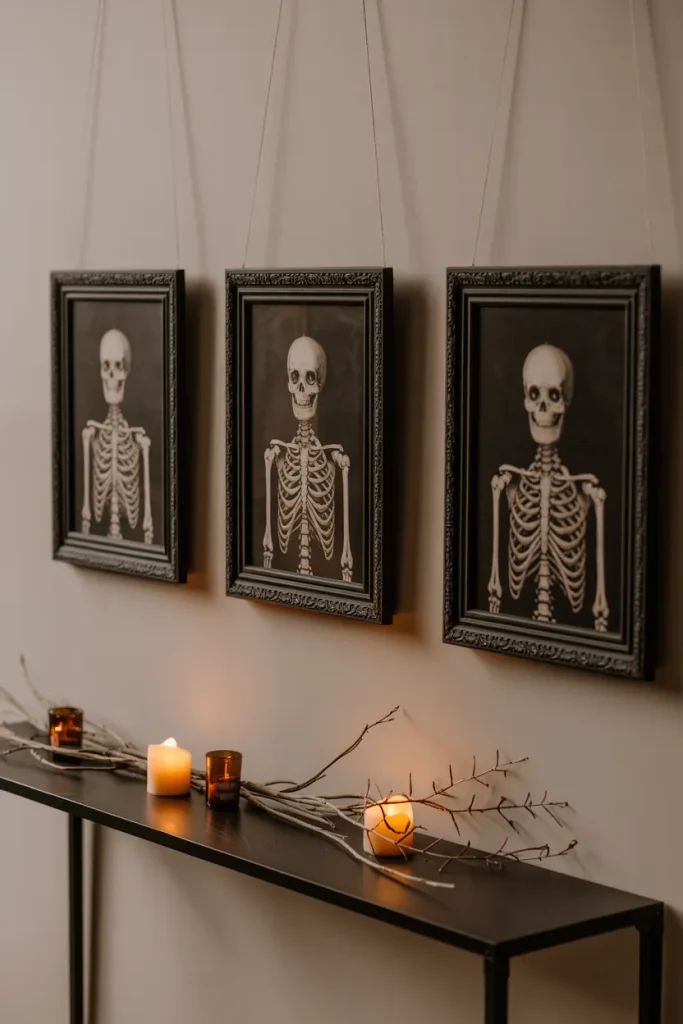
- Select the artwork: Choose three skeleton portraits with similar tones but slightly different poses or details.
- Measure the wall: Keep equal spacing between the frames, with their centers aligned at eye level.
- Mount securely: Use appropriate wall hooks based on each frame’s weight.
- Finish the display: Add two small candleholders or a dark vase below the artwork without overcrowding the arrangement.
A row of skeleton portraits gives a hallway or dining wall a structured Halloween focal point. Black-and-white artwork keeps the arrangement sophisticated, while antique frames add character. Leave enough space around each frame so the individual portraits remain visible instead of blending into one oversized block of seasonal decoration.
Ripped Paper Ghosts
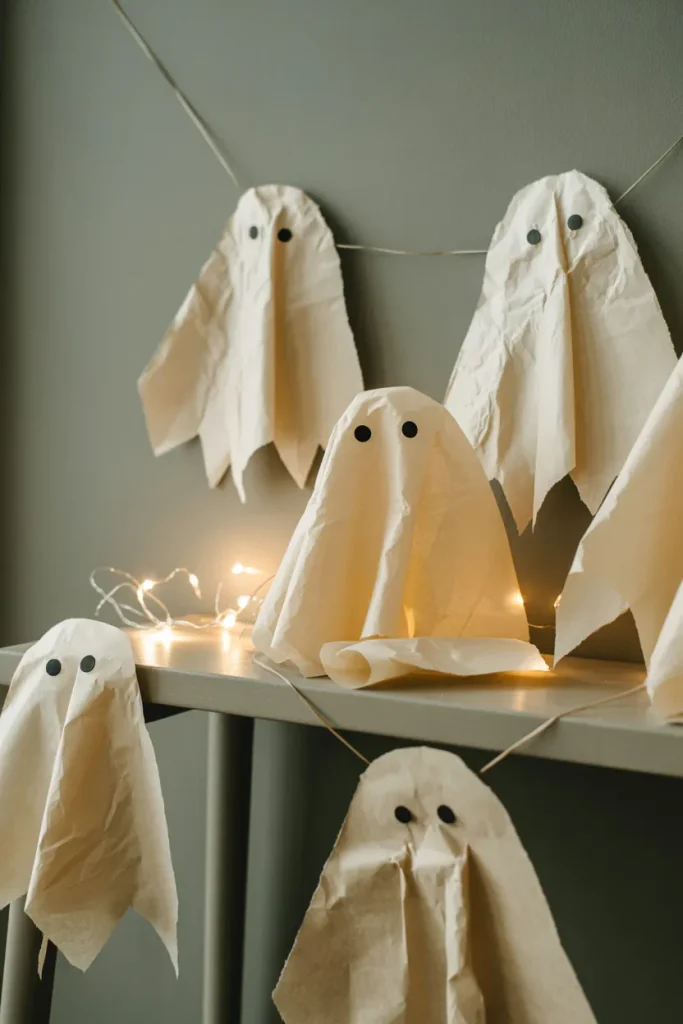
| Option A | Option B |
| White paper ghosts | Fabric ghost shapes |
| Crisp handmade edges | Soft flowing texture |
| Very low cost | Low to moderate cost |
| Quick afternoon project | Requires simple sewing |
| Best for kids’ spaces | Better for refined rooms |
Paper ghosts are an easy way to fill a wall without buying a large collection of decorations. Tear or cut the shapes by hand so each ghost looks slightly different, then attach them in a loose cluster. Keep the faces simple, especially when styling a family room or children’s area.
Gothic Window Silhouette
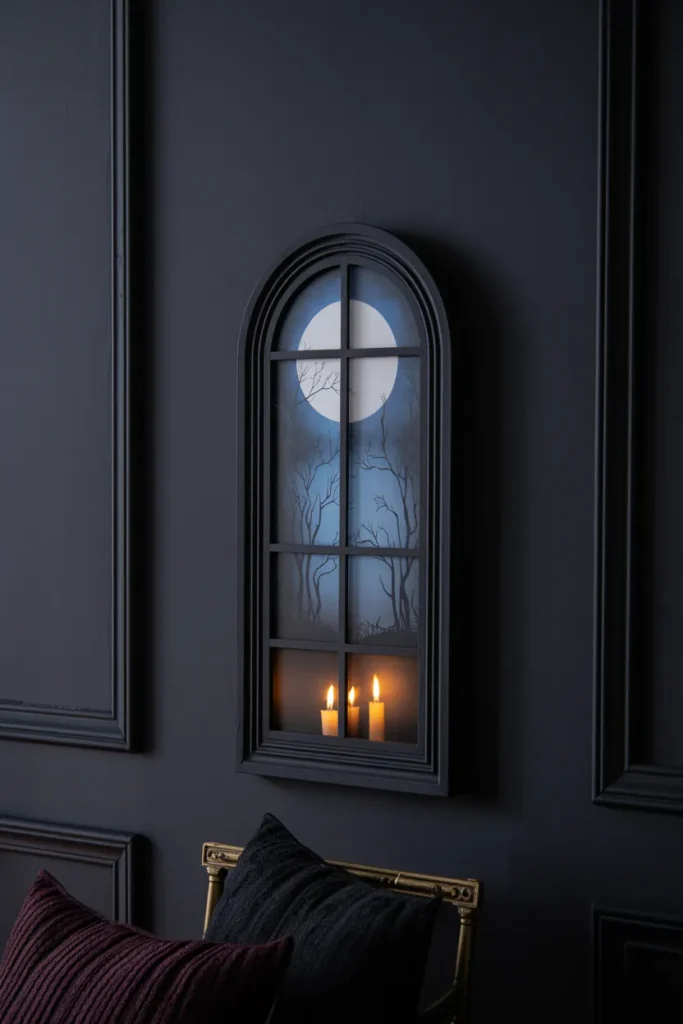
A faux window can make a flat wall feel architecturally interesting while creating a strong Halloween focal point. Mount an old frame or lightweight decorative window against the wall, then place a printed haunted forest, moon, or bare-tree silhouette behind the panes.
For renters, use a lightweight frame with removable hanging strips instead of drilling into the wall. Keep the surrounding decor restrained so the window remains the visual anchor. A small lamp or flameless lantern placed below can create a warm foreground glow that contrasts beautifully with the darker scene behind the glass.
Coffin Frame Display
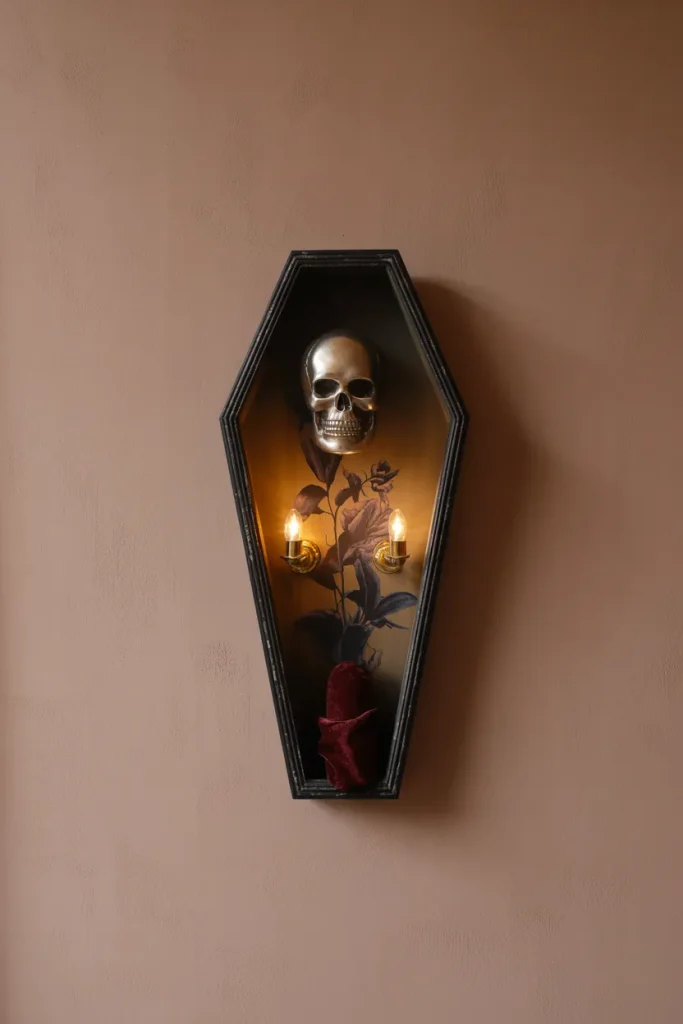
- Choose the frame: Select a lightweight coffin-shaped frame with a matte black or distressed finish.
- Pick the artwork: Use a dark floral print, skeleton illustration, raven, or antique botanical design inside.
- Position it: Center the frame above a console, between sconces, or within an existing gallery wall.
- Balance the display: Repeat black or antique metal accents nearby without adding too many Halloween symbols.
A coffin-shaped frame creates a strong seasonal focal point while using very little wall space. For a polished look, pair its unusual outline with classic artwork rather than filling it with novelty graphics. I’ve noticed that one distinctive shape often feels more sophisticated than several competing Halloween motifs on the same wall.
Moon Phase Banner
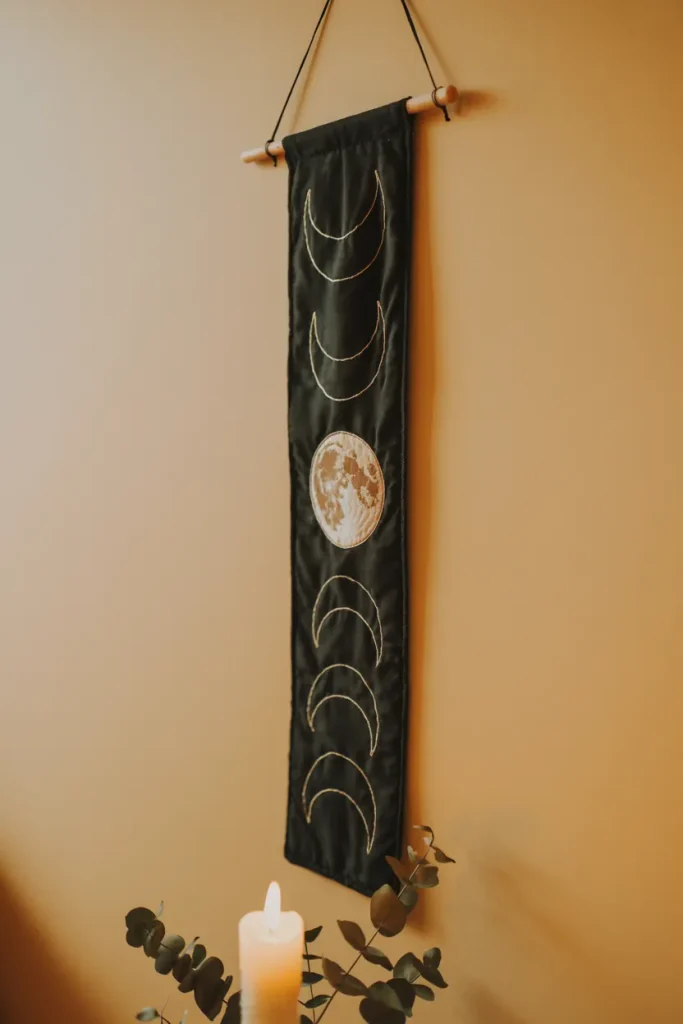
Quick Tip:
Keep the moon phases aligned vertically when decorating a narrow wall, or arrange them horizontally above a console. Choose black fabric with cream or antique gold details so the design remains visible under warm evening lighting.
A moon phase banner adds Halloween atmosphere without relying on cartoon-style decorations. It works especially well with neutral interiors, where dark fabric introduces contrast while the repeated lunar shapes create rhythm. Hang it near a reading chair, bedroom dresser, or entryway mirror for a quieter seasonal statement.
Raven Mirror Pair
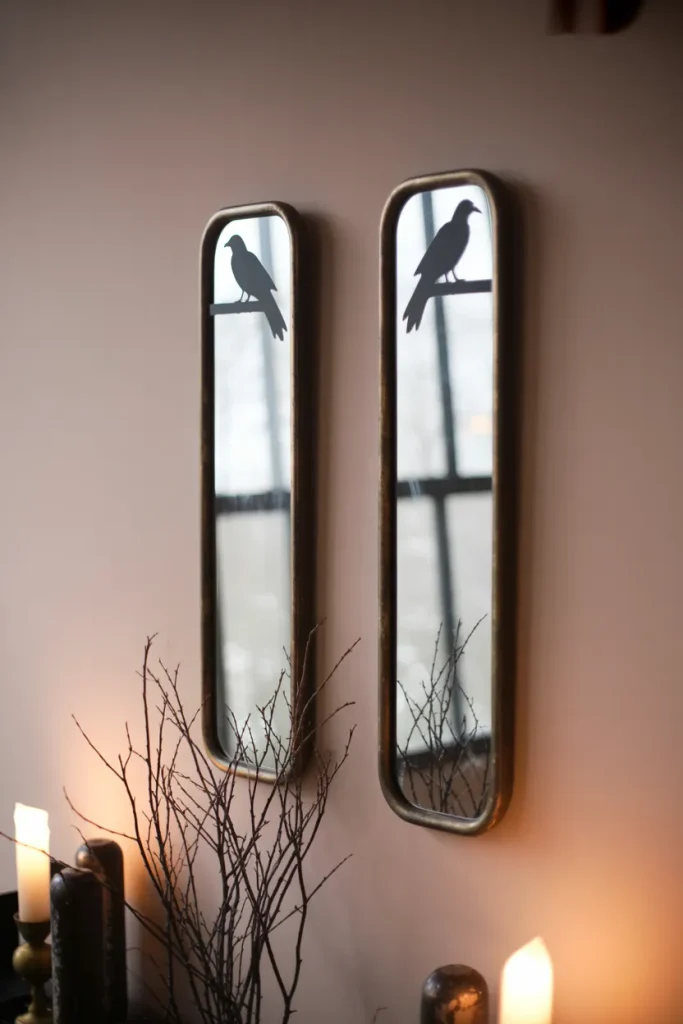
BEFORE: A pair of plain mirrors can feel useful but visually disconnected from a seasonal wall arrangement, especially when the surrounding decor has stronger Halloween details.
AFTER: Small raven silhouettes placed on the mirror corners introduce a subtle Halloween theme without blocking the reflective surface. Matching frames and balanced spacing keep the display structured, while dried branches underneath reinforce the dark autumn palette.
This setup suits entryways and dining areas where mirrors already serve a practical purpose. Use removable vinyl silhouettes rather than permanent paint, particularly on rented spaces. Keep the birds small enough to leave most of the glass clear, and repeat their black tone in nearby hardware or decorative objects for visual continuity.
Haunted House Prints
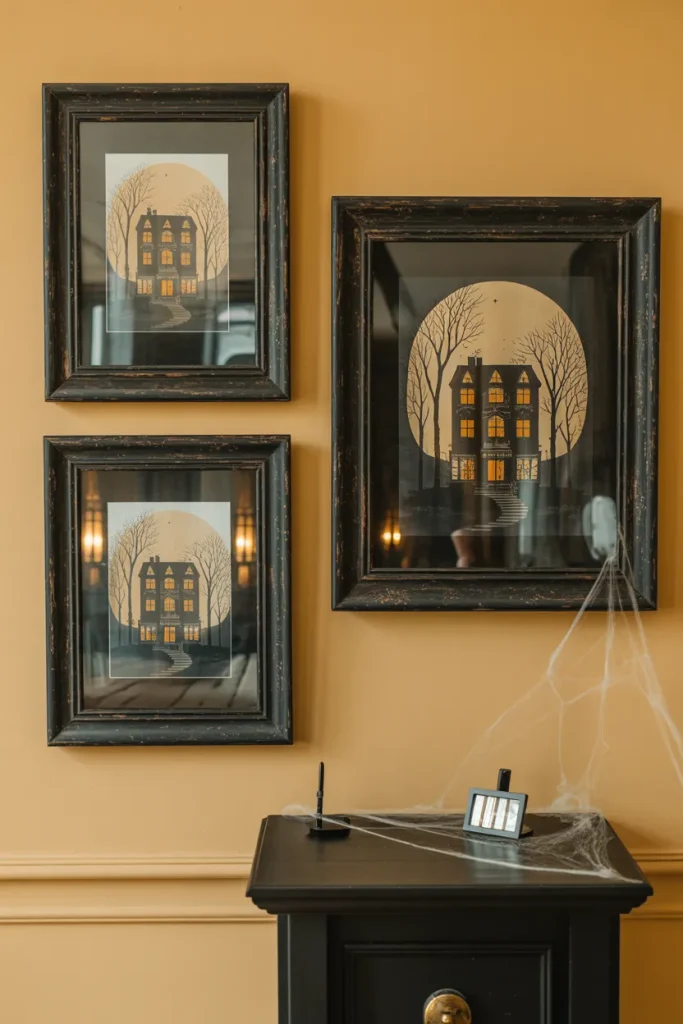
- Choose three prints: Select haunted houses with similar artistic styles, such as vintage engraving, watercolor, or monochrome illustration.
- Create a layout: Place the largest print in the center and smaller designs on either side.
- Match the frames: Use black, dark wood, or distressed bronze frames to maintain a cohesive palette.
- Add small accents: Place a dark vase, dried branches, or flameless candle below the artwork.
Haunted house prints bring a storytelling element to a wall without requiring elaborate props. Vintage-style illustrations usually blend more naturally with everyday home decor than brightly colored Halloween graphics. Keep the artwork at eye level, then leave generous breathing room around the frames so the display feels intentional rather than crowded.
Skeleton Hand Hooks
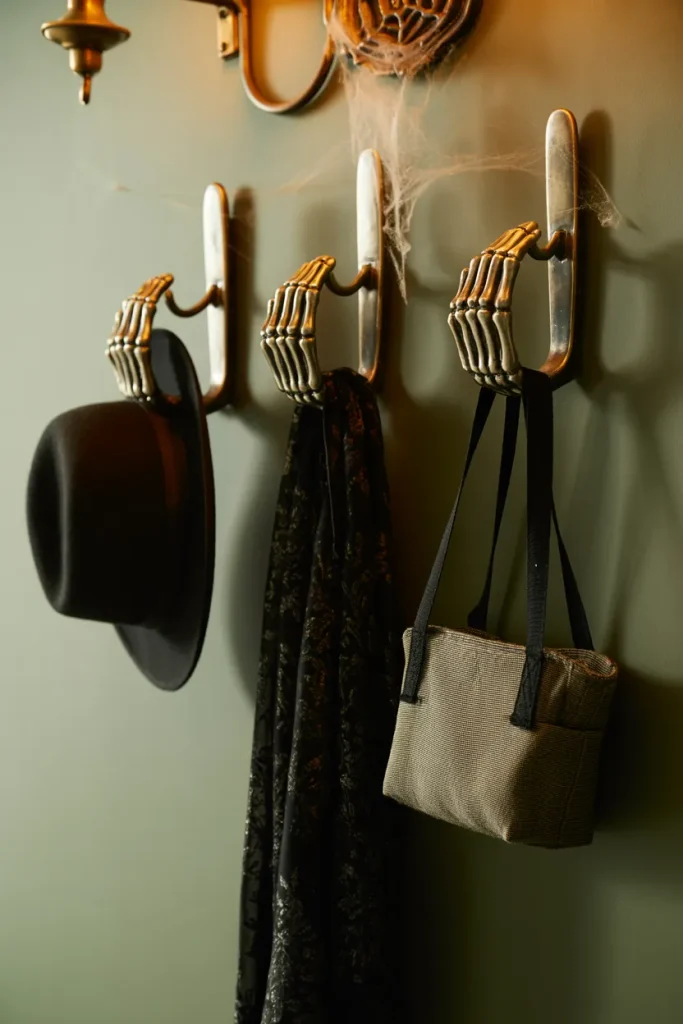
| Option A | Option B |
| Decorative hand hooks | Standard wall hooks |
| Strong Halloween character | Minimal seasonal detail |
| Best for entryways | Works throughout the home |
| Holds lightweight items | Handles everyday items |
| Sculptural appearance | Simple practical design |
Skeleton hand hooks combine wall decoration with everyday storage, making them especially useful near an entryway or bedroom. Choose lightweight items such as hats, scarves, or small bags to hang from them. Black metal or resin finishes blend easily with dark seasonal accessories while keeping the overall display visually controlled.
Witch Broom Arrangement
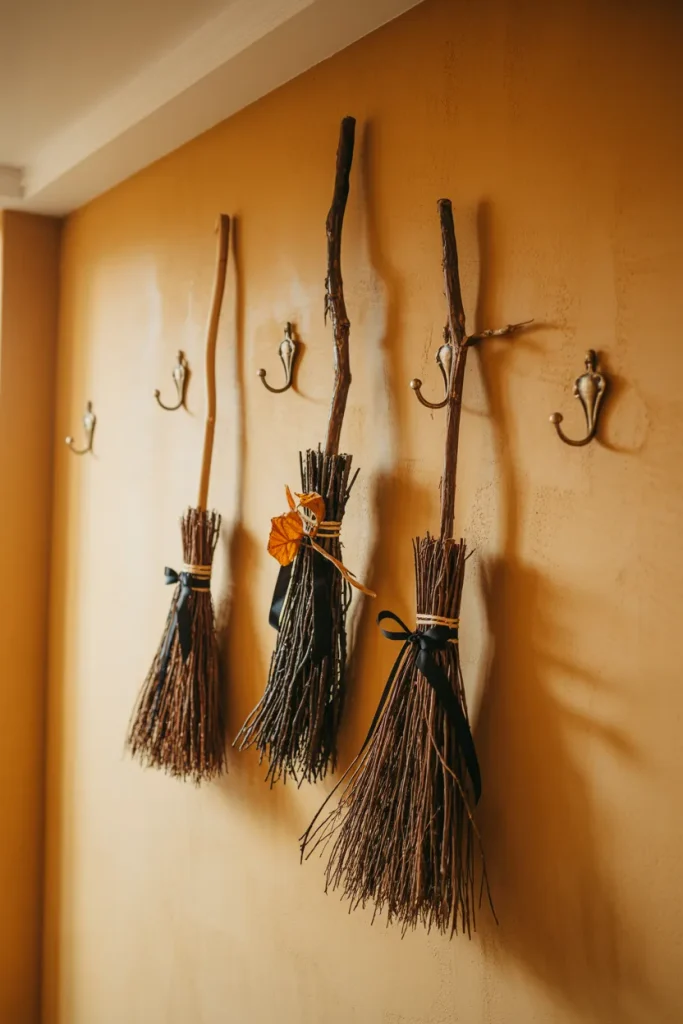
A cluster of decorative witch brooms can fill a tall, narrow wall with strong vertical movement. Choose brooms with different lengths and natural twig textures, then mount them diagonally or slightly overlapping. Black ribbon around the handles adds definition without requiring additional bulky decorations.
Secure each broom at two points so it stays stable and does not slowly rotate. I’ve seen this approach work particularly well beside doors and staircases where horizontal artwork can feel awkward. Keep the surrounding wall fairly open, because the broom shapes already provide plenty of visual texture and seasonal character.
Black Candle Sconces
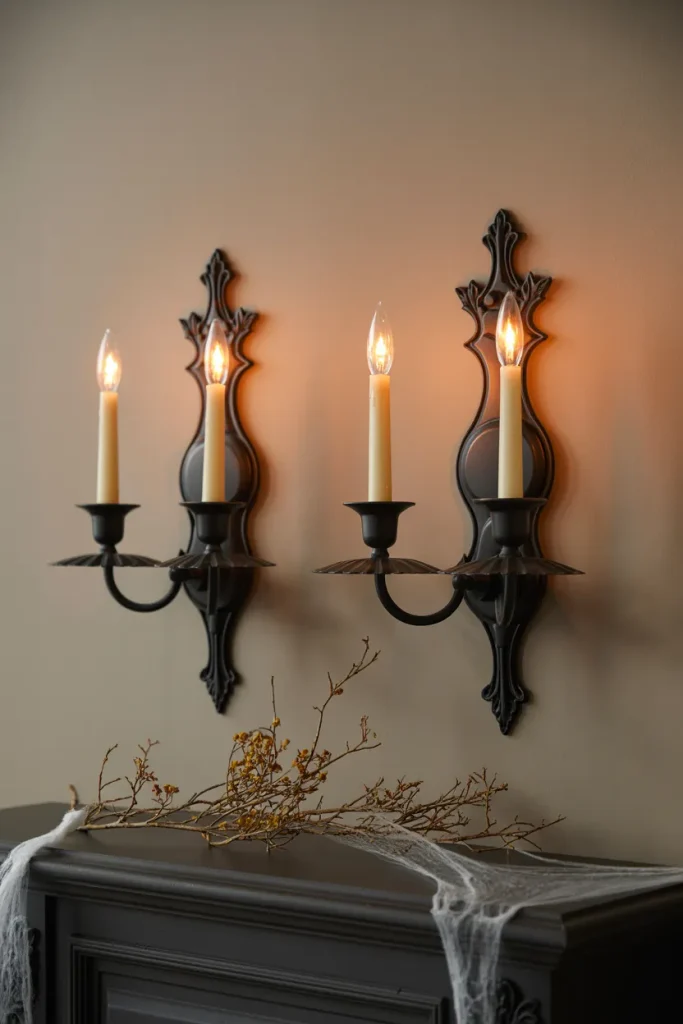
Cost: Moderate | Time: 1 to 2 hours | Skill Level: Beginner
Best For: Hallways, living rooms, dining rooms | Works In: Narrow or wide walls
Result: Warm gothic focal point
Black sconces add height and warm illumination while keeping floor and table surfaces clear. Choose flameless candles for safer everyday use, especially in busy family spaces. Mount matching sconces around a mirror, artwork, or central frame, then repeat their black finish elsewhere to create a connected Halloween palette.
Creepy Botanical Frames
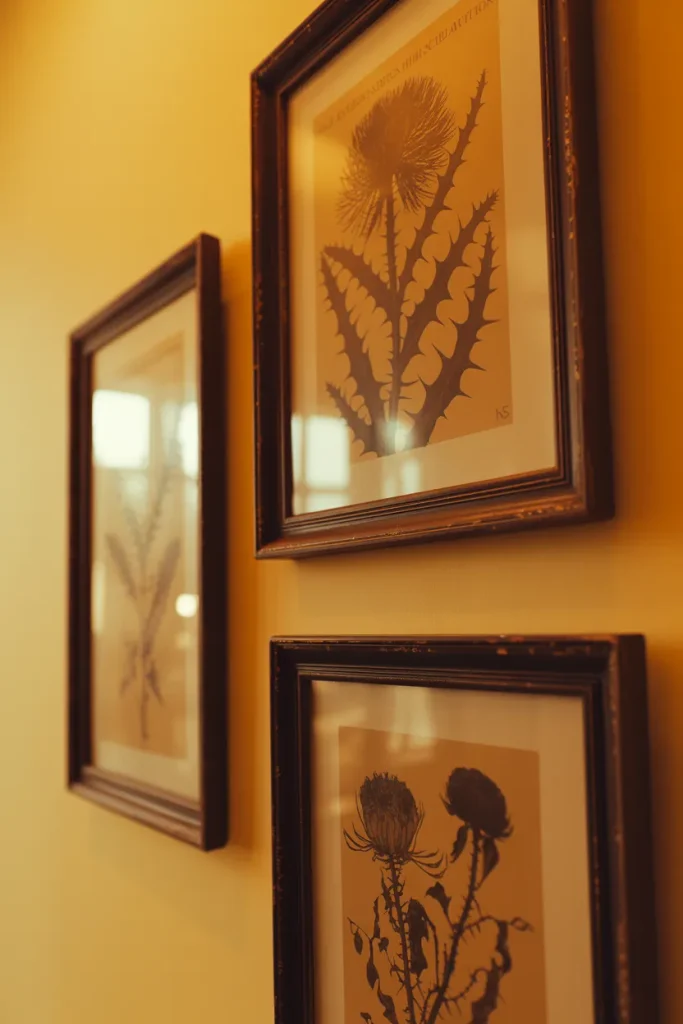
A collection of dark botanical prints brings Halloween style into a room without making the theme overly obvious. Choose illustrations of thorny branches, poisonous-looking plants, mushrooms, or dried flowers in muted black, olive, brown, and burgundy tones. Vintage paper textures add depth and help the artwork feel collected.
Arrange the frames in a loose grid for a cleaner appearance, or vary their sizes for a more antique gallery effect. I’ve noticed botanical artwork pairs especially well with natural wood furniture because the organic shapes soften the darker palette. Keep the prints mostly monochrome if the room already contains several autumn colors.
Shadowy Tree Mural
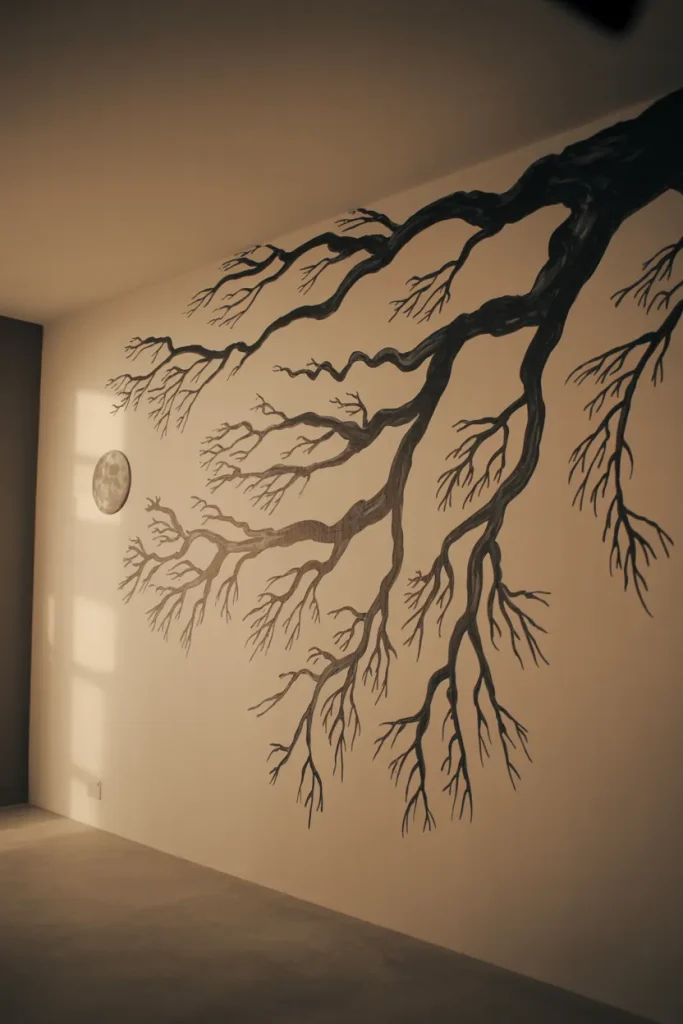
- Sketch the branches: Lightly mark a few sweeping branches with removable chalk before painting.
- Build the trunk: Use a small brush to create an uneven trunk with natural bends and tapering edges.
- Extend the twigs: Add thin branches that gradually become finer toward the tips.
- Finish selectively: Place a small moon, raven silhouette, or framed Halloween print near the branches.
A shadowy tree mural can create a dramatic wall without requiring many separate decorations. Keep the branches asymmetrical and let some extend beyond the main focal area. For a temporary version, use removable wall decals instead of paint. A warm lamp positioned nearby will emphasize the branch shapes after sunset.
Conclusion
Halloween decorating becomes much more exciting when the walls get the attention they deserve. These Halloween Wall Decor Ideas offer simple ways to add drama, texture, character, and seasonal charm without overwhelming your room.
Start with one blank wall and choose an idea that fits your existing furniture and style. You can keep it subtle with framed artwork or go bolder with bats, witch hats, gothic displays, and dramatic silhouettes. I’ve seen how small changes like these can completely shift the way a space feels.
Save this post on Pinterest for your next decorating project, try your favorite idea, and share it with someone planning their Halloween home. Your perfect spooky wall may be just one creative detail away.